Masters Graphics Project

During the first semester of my Masters course (MSComp Computer Science - Game Engineering 4th year) I was tasked with building a the graphics component of a 3D game, with the goal of implementing as many features I could.
I received 92% (first class) for this submission.
For this project I had set myself the personal goal of playing around with procedural skyboxes and tesselation, both of which I had succeeded with by the end.
Development
Pre-Development
During the teaching section of this topic we followed several tutorials provided by the lecturers, covering several topics including: texture mapping, transparency, hierarchical scenes, index buffering, skeletal animation, post-processing, lighting, cube mapping, shadow mapping, deferred rendering, and bonus tutorials on geometry and tesselation shaders.
The Project
For this project we were given two weeks to complete it, after being given the specification. The initial code base was provided by our lecturer Richard Davidson, which mainly consisted of an empty window with the necessary framework to get straight into the graphics.
Features
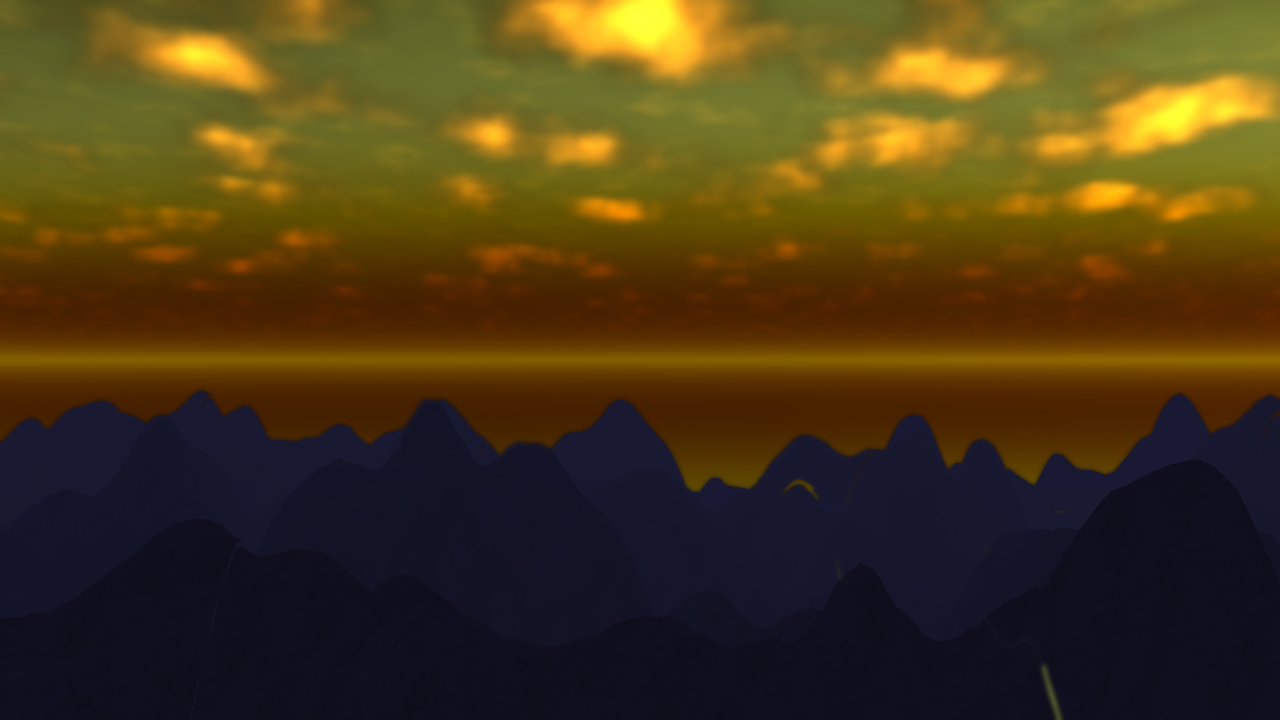
Procedural Skybox
In the past I have worked with a procedural skybox through a Unity asset, for my third year graphics module. This time however, I needed to do it in glsl. Thankfully I was able to find a codebase for it here, from which I adapted the code.
Initially I wanted to go through the original paper to attempt to produce my own code from the source, as I had attempted before with Perlin/Simplex noise and erosion. Unfortunately I decided this would take too long for a relatively small part of my project, as the math behind mie and rayleigh scattering is quite complicated. Because of this I simply adapted the existing code from the GitHub repository, with minor changes to make it work with my own code base. At the very least I do have a decent understanding of how the clouds are generated, since they use Perlin noise (which I changed to Simplex noise for performance) and skew it with perspective to create 3D looking cumulus clouds, as well as more flat looking cirrus clouds behind.
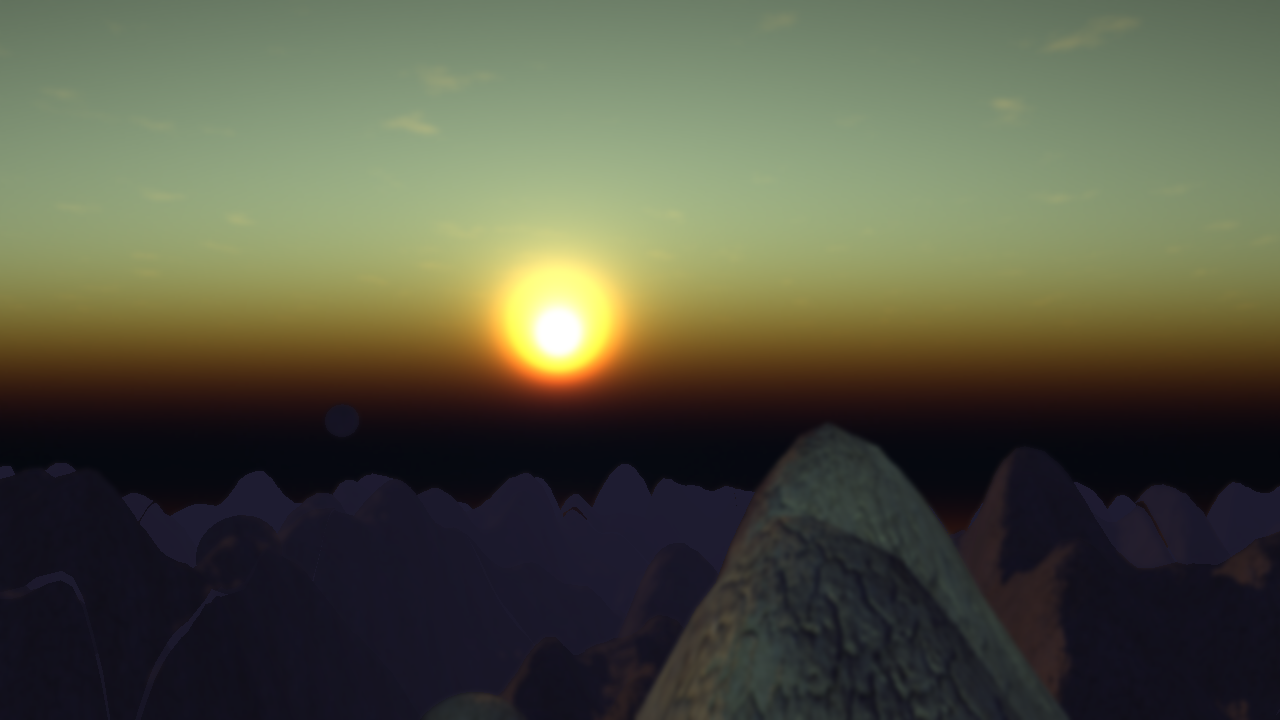
I was able to link up the procedural sun with a directional light to create a working day-night cycle. The code itself allows me to put in an actual hour of the day, as well as set the speed the sun moves. Though this is all in code, and not configurable in the application itself.


Hierarchical Scene
All of the objects in my scene are part of a scene hierarchy, with the primary example being the lights and moving spheres which are child to the terrain, to allow them to be procedurally generated. This involves storing local position, rotation, and scale, as well as a global model matrix which is updated during the mainloop. An optimisation for this might be to only update when the object has changed, or to even have a dirty state for the object which only gets updated when it's world position is actually requested.
Texture Mapping
My project makes use of diffuse and bump textures on all rendered scene objects. Due to time constraints, and prioritising other parts of the project, I was only able to get a single texture working. Though in hindsight it shouldn't have been too difficult to add another texture for some of the objects, just to have it there.
Textures are also involved in the tesselation process, which I go over in more detail here.
Deferred Rendering/Shadow Mapping
One of the first things I did for this project, and the part which took the longest, was to implement a deferred rendering system. The system for this project is relatively simple, with a GBuffer consisting of five textures (albedo/skybox, diffuse light, specular light, normal, and depth). A small feature I implemented, mainly for debugging but also to help improve my understanding of the different textures involved, was to allow the combine shader to switch it's display mode to show only the normals or only the shadows.
The most difficult part of this project was definitely implementing shadow mapping, as the tutorials only went over how to use shadow mapping in a standard render pipeline. This meant I had to figure out the math myself, and having little experience with matrix mathematics at the time I didn't have a very strong intuition on the different spaces and transformations I had to apply to get the correct information needed for shadow mapping. In the end though, I managed to get a decent shadow mapping system working, with a suitable resolution for the scale of the scene.
Post-Processing
This project has two post-processing effects, being a Gaussian blur effect, and a cheap fog effect.
The fog effect works by taking the depth buffer and using it to interpolate each pixel in the scene closer to the ambient lighting colour the further they are from the camera. This is done using the ambient light instead of just white to make the effect work regardless of the time of day, since white fog looks odd at night and during dawn/dusk.
The blur effect simply applies two Gaussian blur passes over the scene. I mainly did this to ensure I had a post-processing effect in my scene, for marks. In retrospect, doing a bloom effect would have been better as it is not much more complex than blur, and would have looked nicer. Even without this I should have made it easier to turn off just the blur effect, as it makes the scene look worse, and switching off post-processing entirely also removes the fog, making it difficult to take good screenshots of the project.
 |
 |
| With Post-Processing | Without Post-Processing |
|---|
Tesselation/Procedural Generation
One of my goals for this project was to implement tesselation in some way. Having had experience working with Perlin/Simplex noise I chose to do this by implementing procedural height-map generation.
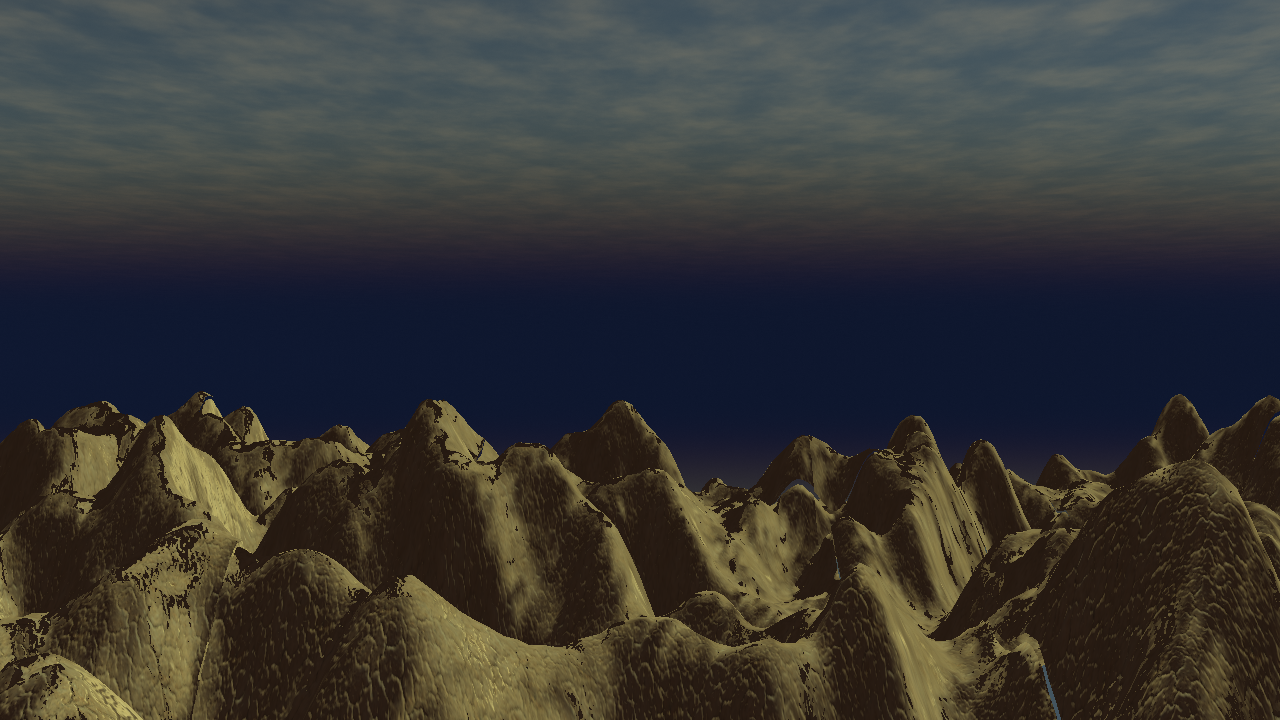
The world is composed of a 5x5 grid of quads centered on the camera, which load and unload as the camera moves such that the viewer is always in the center of a 5x5 grid. Each quad is tesselated to what I now understand to be the maximum tesselation limit in OpenGL of 64, though at the time I did not know this and attempted to increase the resolution higher to no avail. During the tesselation evaluation stage, each vertex of the newley tesselated quad is offset on the y-axis by the height value of a height-map texture generated whenever each quad is initially created. The textures are generated by feeding the position and scale data of each quad to a Simplex noise based fBm shader.